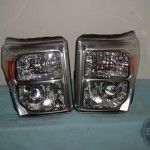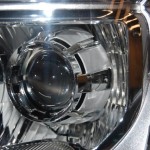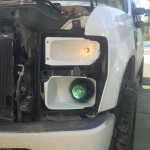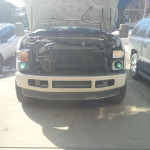
Bi-Xenon Projector Retrofit Project
Superduty Project
Bi-Xenon Projector Retrofit & LED Upgrades
Intentions
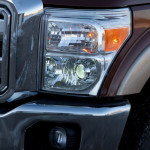
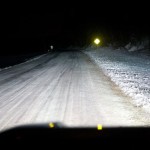
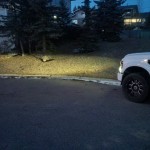
The purpose of the projector retrofit is to greatly increase light output from stock headlight housings for highway and night time usage. Some good stock notes are highway speeds and low beam, overshot easily by 80-90km/h and high beam output poor at best. Simply adding HID system to stock halogen housings without doing a projector retrofit, wasn’t the best option for other road users or the best light. I have been delaying a projector retrofit, until now.
Parts List
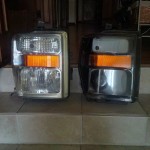
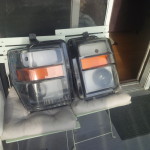
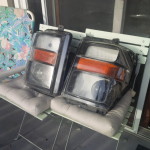
- Stock 08-10 Superduty Headlight Housings
- Morimoto Mini H1 Projectors
- Morimoto H1 Bulbs
- DDM 35W HID Slim Ballast
- Orbit Projector Shrouds
- Morimoto MotoControl H13 Harness (**MUST HAVE**)
- OCI Butyl Rubber Glue
- 80mm Rubber Housing Caps
- Front Side Marker (T10/194 Amber – Ordered eBay/Chinese)
- Amber Front Turn Signal bulbs (4157/3157NA x2, XB LED/Not Ordered)
- Rear Turn Signal & Rear Brake (3157 x2, XB LED/Not ordered)
- Reverse Light Bulbs (921 x2 – eBay/Ordered)
- 3rd Brake Light + Cab Lights (922 x1, 906 x2 – eBay/Ordered)
- Dome Light (578/42mm Festoon – Ordered eBay/Chinese COB style)
- Amber Cab Lights (194 Amber LED – Included with Cab Lights, Need to be drilled)
Other Superduty Projector Retrofit’s around the web
- VTX, 2011 Superduty @ TheDieselStop.com, FX-R/Morimoto/Gatling Shroud/H13 Harness
-
- VTX
- VTX
- VTX
- VTX Low Beam
- VTX High Beam
- VTX Outside
- fdny136, 2011 Superduty @ TheDieselstop.com, Projector Retrofit w/ 4300k Capped HID’s in fogs
- fdny136
- fdny136
- fdny136
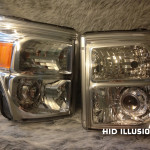
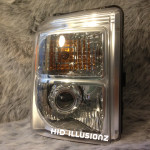
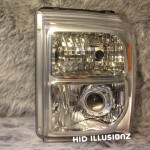
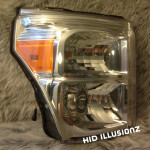
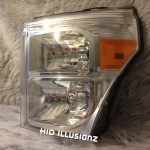
- HID Illusionz, 2011 Superduty, FX-R / Orbit Shroud Projector Retrofit
- HIDIllusionz
- HIDIllusionz
- HIDIllusionz
- HIDIllusionz
- HIDIllusionz
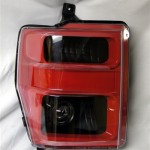
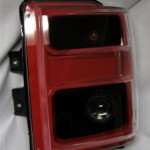
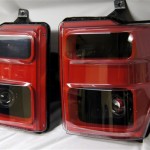
- retroshop.us, 2008 Superduty Projector Retrofit, Morimoto H1/Gatling/Red Housing/Black Reflector
- retroshop Red Housing
- retroshop Red Housing
- retroshop Red Housing
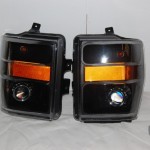
- BlackFlameCustoms, Many 2008-2010 Projector Retrofit’s
- BlackFlameCustoms Black Housing
- BlackFlameCustoms Black Housing
- BlackFlameCustoms Black Housing
- BlackFlameCustoms, Many 2011+ Projector Retrofit’s
- More to come!
My Projector Retrofit, Steps and Tricks
- Step 1, Baking Headlights to Remove Outside Lens
- Remove all screws/rubber/loose items, strip down as much as possible.
- Put in oven and heat to 200F for 10 minutes.
- Some people have turned off oven while unit inside, some keep temp at 200 not 250, I left on at 200, no issues.
- Remove from oven (WITH GLOVES), start to pry around corners / cut permaseal with blade.
- Can use golf tee’s or tooth picks to hold the plastic clips open, just enough to keep them off the clip without mangling the, now soft, plastic.
- Small movements, steady force to pry, hold the force and you will watch the permaseal pull from the plastic. Too much too fast and you will just crack the plastic.
- Put back in oven and reheat for 10 minutes
- Repeat pry/cut until front lens is removed.
- Put back in oven to remove remaining permaseal out of headlight housing and off lens once separated, much easier to do it now that you got it soft then try and do it when you want them back together.
- Step 2, Fitting Projectors and Shrouds
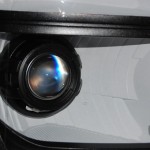
- If you have followed my retrofit you will notice a change from D2S to H1 Mini projectors. I had both in my stock pile and upon fitting both into the housing, the H1 made for a much quicker install (one HID bulb died so speed was a bonus) and still accepted my Orbit shroud with the centering ring so I got the look I wanted with no mounting fuss.
- On the 08-10 Superduty there is a mounting hole for the halogen reflector, with the reflector removed I enlarged the hole to make room for the bi-xenon wiring to pass through here now.
- On the back side of the housing, I had to trim down one of the two edges where the old halogen would screw in, making it flush with the mounting surface. This allowed the new washer and lock ring for the projector to be tightened down on solid plastic and not sit on the inner ledge.
- Step 2B, TEST BEFORE ANYTHING ELSE
- TRS recommends testing the Bi-Xenon solenoid at least 30-40 times before finalizing install. You are going to want to full mount your items and check them multiple times for functionality and aiming on your vehicle.
- Always test alignment ON VEHICLE before going forward, if it doesn’t line up and you paint it and assemble it, your bound to mess it up pulling it apart and redoing it, just double or triple check BEFORE you do the rest of your project.
- One complete your testing and aiming, you can use locktite or JBweld to set everything up so nothing will move on you. The same area you trimmed the second inner ring off, is the same area that you will want to apply your JBweld to.
- Step 3, Painting Housing and Projector Shrouds
- Being you have already disassembled the headlight, all of the chrome shrouds and pieces should be available to you to paint how you would like. Some opt to color match, some black out, some keep chrome, do it your way!
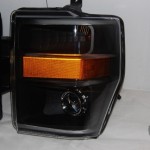
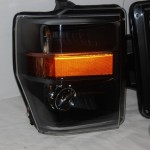
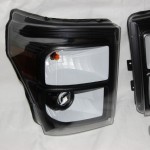
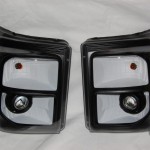
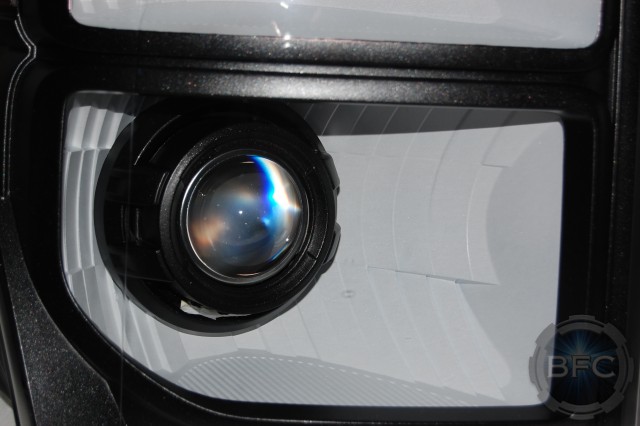
- I flat out copied one of Black Flame Customs 2011+ headlights for my 2008, white reflector cups with black surrounds and shrouds. I sent mine out to a buddy at a body shop who painted them and they look great. If you have access to a body shop I recommend that method to get a nice finish vs. spray bomb but everyone has different skill sets to make it work.
- Step 4, Reassembly and Baking
- DID YOU TEST?!??!?! If not, WHY ARE YOU HERE?!?!?!? Go back to 2B and finish up!
- If you did test, and your painted, then you should be good to reassemble!
- Attach top reflector housing with screws.
- JBweld Shroud + centering ring together to projector. I chose to JBweld the shroud and ring together then JBweld that assembly onto the projector, worked great.
- Screw painted housing trim to lens and mock up lens/trim assembly on headlight to ensure everything looks like it will seal up without rubbing and looks the way you want it.
- BEFORE sealing up, I ran out to the truck once more and tested them with the lens on. After forcing shroud over projector and messing around, not a bad idea to double check before dealing with the OCI butyl and sealing of the lens.
- Roll butyl in your hands or on table to get it skinnier than the roll provided, then feed this into the crack in the housing where the lens sits. Do your best to keep an even and liberal amount of butyl here, if its too little it will allow moisture in, too much one in spot will goop/bung up and could run if you get it hot enough, messy!
- Sit lens on top, DO NOT PUSH DOWN YET. Line up all your tabs, line up the lens to go in the housing evenly, then SLOWLY push down with steady force in the middle to get it started evenly.
- Pop into oven for 10 mins at 200, pull out with gloves and push down again evenly
- Pop back into oven for 10 mins at 200, pull out and push on each side to ensure full seal and use zip-ties to secure it/hold it tight while drying. I put mine outside to cool quicker in our Canadian winters.
- Sit back and enjoy your new projector retrofit project, get them on your truck once cooled and hit the highway’s!


